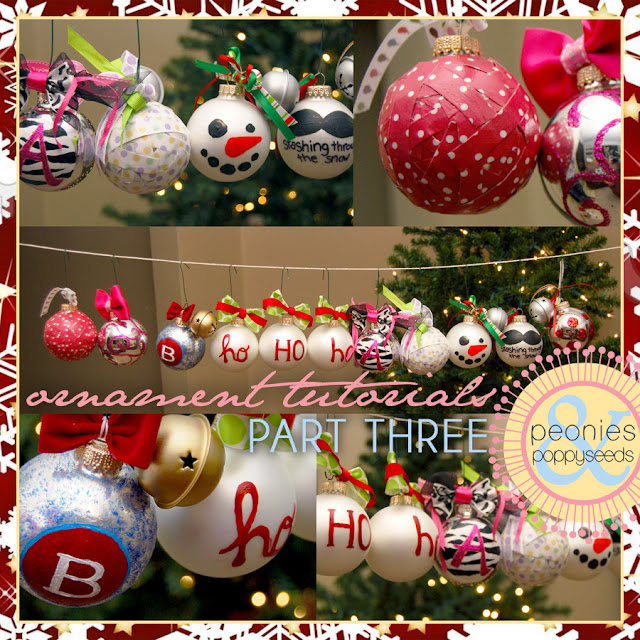
Christmas Ornament Tutorial part 3: Piecing things Together
Share
Pretty much no tutorial of mine is complete without somehow making a huge mess. And while I could tell you about my experiences making ornaments with glitter swirls and even glitter-y dots, I don't think it's necessary to bore you with tales of finding glitter up my nose and in the cracks of the sofa for a solid 3 weeks. Instead, let's talk about glue guns and mod podge.
Part 3: Getting Ornaments Together, Piece by Piece
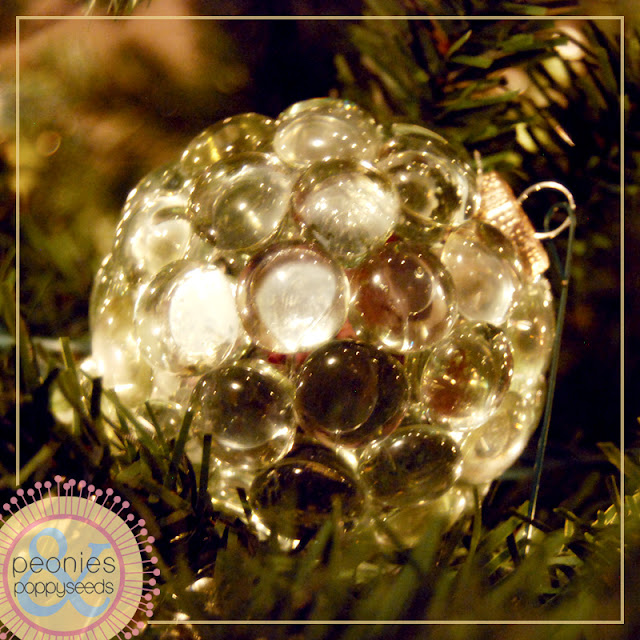
This is yet another idea I mooched from pinterest, but there are few things that random pictures can't tell you. Such as: these things are FREAKING HEAVY (as far as ornaments go), but they do look especially lovely in the tree light.
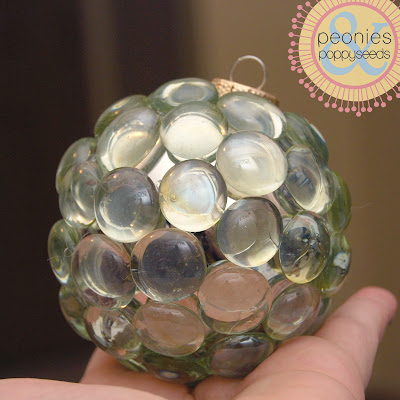
So, first of all you need to get out your glue gun, and buy some of those flat-ish, clear glass, pebble-y thingies. (Also, I chose to use a sliver ornament because of it's reflective qualities.) Starting at the top, glue the glass pebbles onto the ornament leaving as little space between them as possible. Then add another row of pebbles, putting them next to each other as closely as you can get them.
Keep adding rows of pebbles until your ornament is covered. The farther you get down the ornament the trickier it gets to fit them all sungly together, but whatever you do, DO NOT try to pry already glued pebbles off of a glass ornament. Because it will break. And then little tiny glass shards will fall on your carpet. And probably your toes. And that will not be fun. Trust me.
And, like I mentioned previously, these things end up being mondo heavy-o. So even though I put one of those wire hangy bobbers on it, I ended up just laying it on the tree branches. But it's seriously gorgeous reflecting all the lights.
While that last ornament involved glue guns and glass shards, it's really this next one that made the biggest mess. But I super love the results.
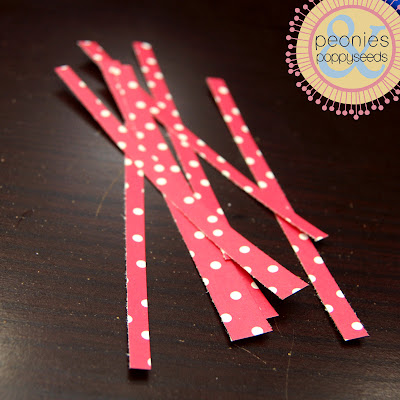
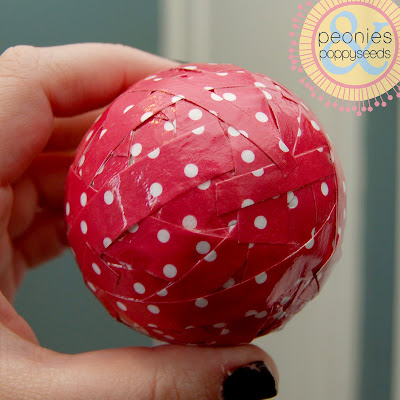
The first thing you need to do is take a piece of scrapbook paper and cut it into a gabillion tiny strips. Make sure you're not doing this with thick paper, and don't get your strips too wide or too long because they will be harder to work with.
You'll want to have ALL your strips cut before beginning. Because then you pull out some mod podge, and coat your entire ornament in it. Then, one by one, you place the strips on the ornament and mod podge over them. And then, once all your strips are securely podged, you need to put a thick coat of even more mod podge over the entire ornament. (How anyone can make one of these without getting completely covered in mod podge is beyond me. I was up to my elbows in the stuff.)
To let my mod podged ornaments dry, I hung them from a suspended piece of string between my cupboard doors so that they wouldn't be touching anything. Then, once they had hung there for about a day, I tied ribbon and jingle bells to the tops and they were done.
Thanks for checking out all three parts of the ornament tutorials! I now expect you all to have fabulous tree decorations that you can show off to your friends and family and maybe even the UPS guy when he comes to deliver all those presents you've ordered online.

