Hand Warmer Tutorial
Share
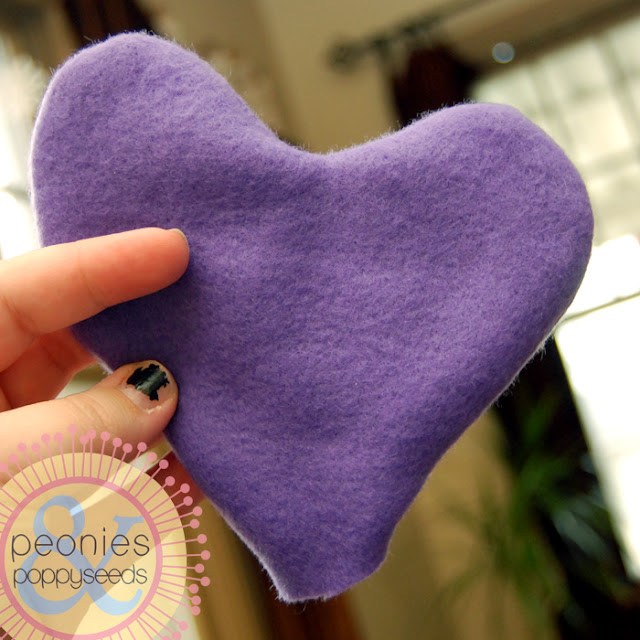
I woke up to snow this morning which, let me tell you, was not a happy thing. Stupid snow. But here's a craft I did with my kids to help combat the cold.
We gave away a few of these as gifts, which was great because they were cheap and easy, and I seriously made my kids do half of the work. Here is how to make your own:
First you need to make a pattern (we did hearts and stars). Basic shapes are easiest - just take a piece of paper, fold it in half, draw half a shape, cut it out and unfold. (Look, one of my patterns was made out of a paper towel, because we're super fancy here.)
Then take a piece of fabric (we used polar fleece, but I've made these with other fabric) and cut out a pair of whatever your shape is.
Next, you need to sew around your shape, leaving a small opening. And make sure you sew with the right sides facing each other.
And then, turn your shape right side out. This is where your kids come in handy.
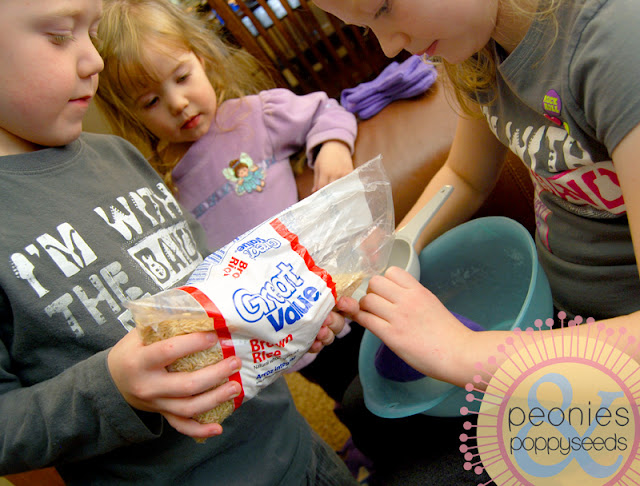
Then, make your kids fill the warmer with rice. I handed my kids a funnel, a grody bowl to catch the stray rice and then told them to work together. It semi-worked, but in the end, they got it filled.
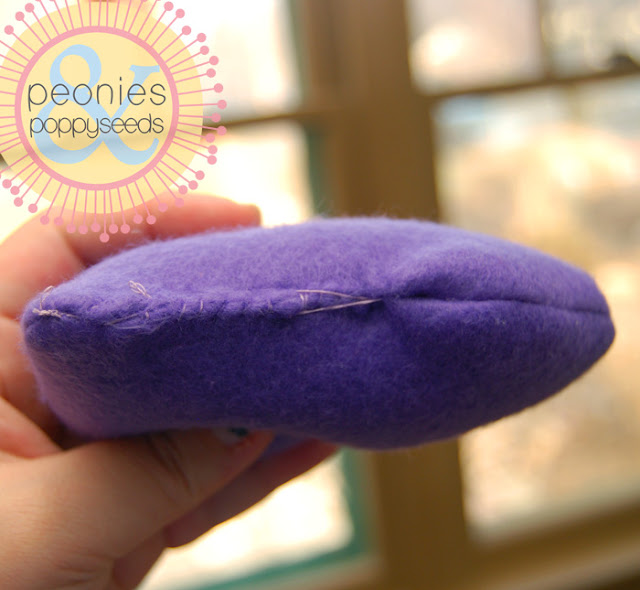
Once the handwarmer is filled with rice, you'll need to turn the edges of the opening in and pin it shut.
Then you make your kids sew the opening shut with a needle and thread. Because it teaches them new skills and makes them practice fine motor control and also because if they do it then you won't have to (even though first graders clearly aren't the best seamstresses).
Then, if you want to give these as a gift, you'll need to print out the little hand warmer printable just
...and then print and cut.
Lastly, all you have to do is stick the handwarmer and the printed card in a bag and viola - cheap and easy gift that your kids did most of the work. Or you can just use one at home to combat the evil cold of snow.


